First of all I’m going to prepare two nodes cluster. Base software is MS Windows Server 2008 R2 Enterprise Edition. Here are two disk connected to both cluster nodes. In my case storage system connected to servers via iSCSI interface. Two volumes were prepared: one small 5G will be act as cluster quorum disk, second large 50G will be used for clustered application data store. Both are raw volumes at this time.
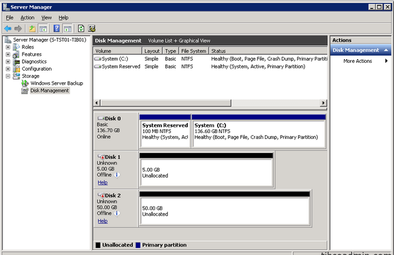
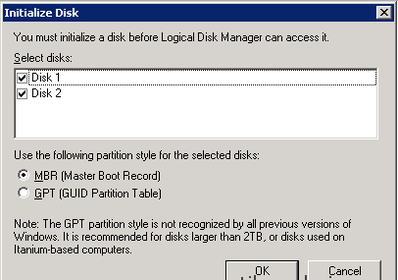
I’m going to put both volumes online and initialize it. If you will do it like me, do it only on one node! After this step I can create NTFS file system on quorum disk. Start “New Simple Volume Wizard”, let it to use whole disk, assign drive letter, I prefer “Q” for quorum, then perform a quick format with default settings.
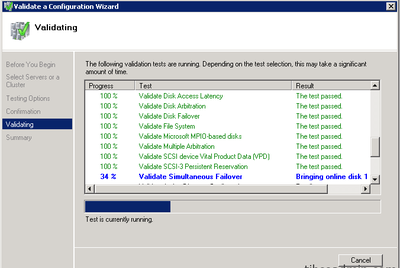
I suppose that both my nodes are ready for failover cluster. But the best practice to check it before. So, I will start cluster validation process. Here a lot of steps for testing cluster core resources availability such as network and storages. During testing, access to shared volumes will be checked from both nodes. After completion of testing, validation report will be generated. In my case warning message was received as my network adapter has no redundancy: between my servers only one network path and it will be a single point of failure. In production cluster it is better to avoid things like this, I will correct this before going to production.
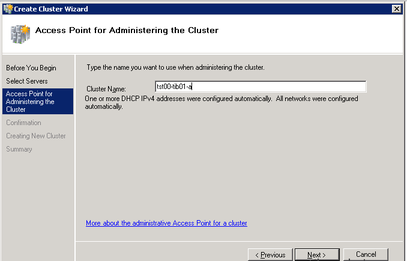
As all other things were good, I’m ready to create failover cluster. I just start “Create Cluster Wizard” and add the names of all the servers that I want to have in the cluster. Then type the cluster name. After confirmation, cluster creation and configuration process will be running. When cluster will be formed, summary message and final report will be generated. Everything looks very good in my case, so I’m ready to prepare storage for cluster data disk. In future, it will be used as storage for TIBCO EMS and TIBCO Hawk. The steps are the same as for quorum disk: “New Simple Volume Wizard”, drive letter assign, let it be “T” for TIBCO, NTFS quick format.
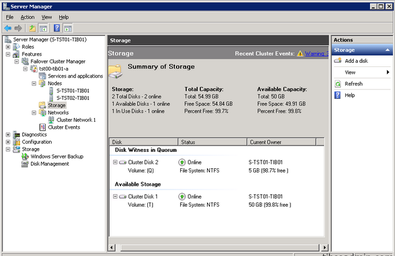
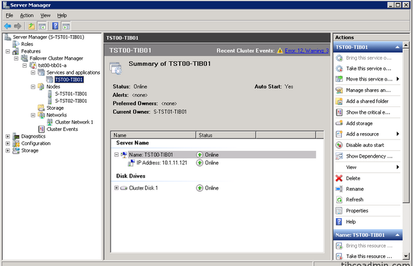
After that my storage is available as cluster resource and I’m prepared to create cluster resources that will be used for TIBCO services. I will start with “Create Empty Service or Application” action, then rename this new service to TST00-TIB01 and add client access point with the same name: TST00-TIB01. IP address will be assigned automatically by DHCP. Then it’s time to add storage to this service. I will select my available Cluster Disk 1.
Last step is bring this service group online. At this point of time both nodes are ready for TIBCO software installation. I will continue from this point in the part 2.


 RSS Feed


